Configure Custom Fields for Lightning App Builder
Configure Custom Field Presets
WARNING: You must create Metadata Settings before you can select a Custom Field Preset.
Follow these steps to configure how to display a custom field within a FlexiPage Surface component:
- Use App Launcher to navigate to an existing FlexiPage (example: SAP Sales Document) where you want to add one or more custom fields.
- Click on the Setup cog icon and click Edit Page to open the Lightning App Builder.
- Add the desired Surface component to the page (example: SAP Customer Detail) OR select the component if it already exists on the page.
- On the right-hand side of the screen, click the drop-down menu under Custom Field Presets.

Select the Custom Field Group
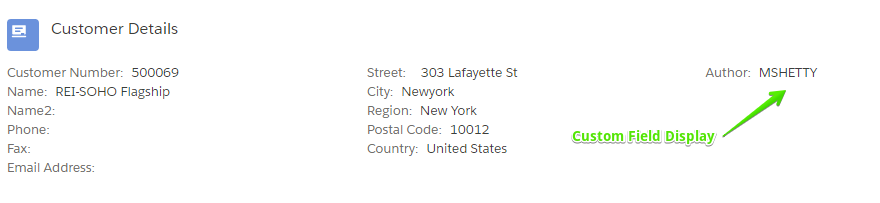
- Select the custom field group that you configured (example: Author).
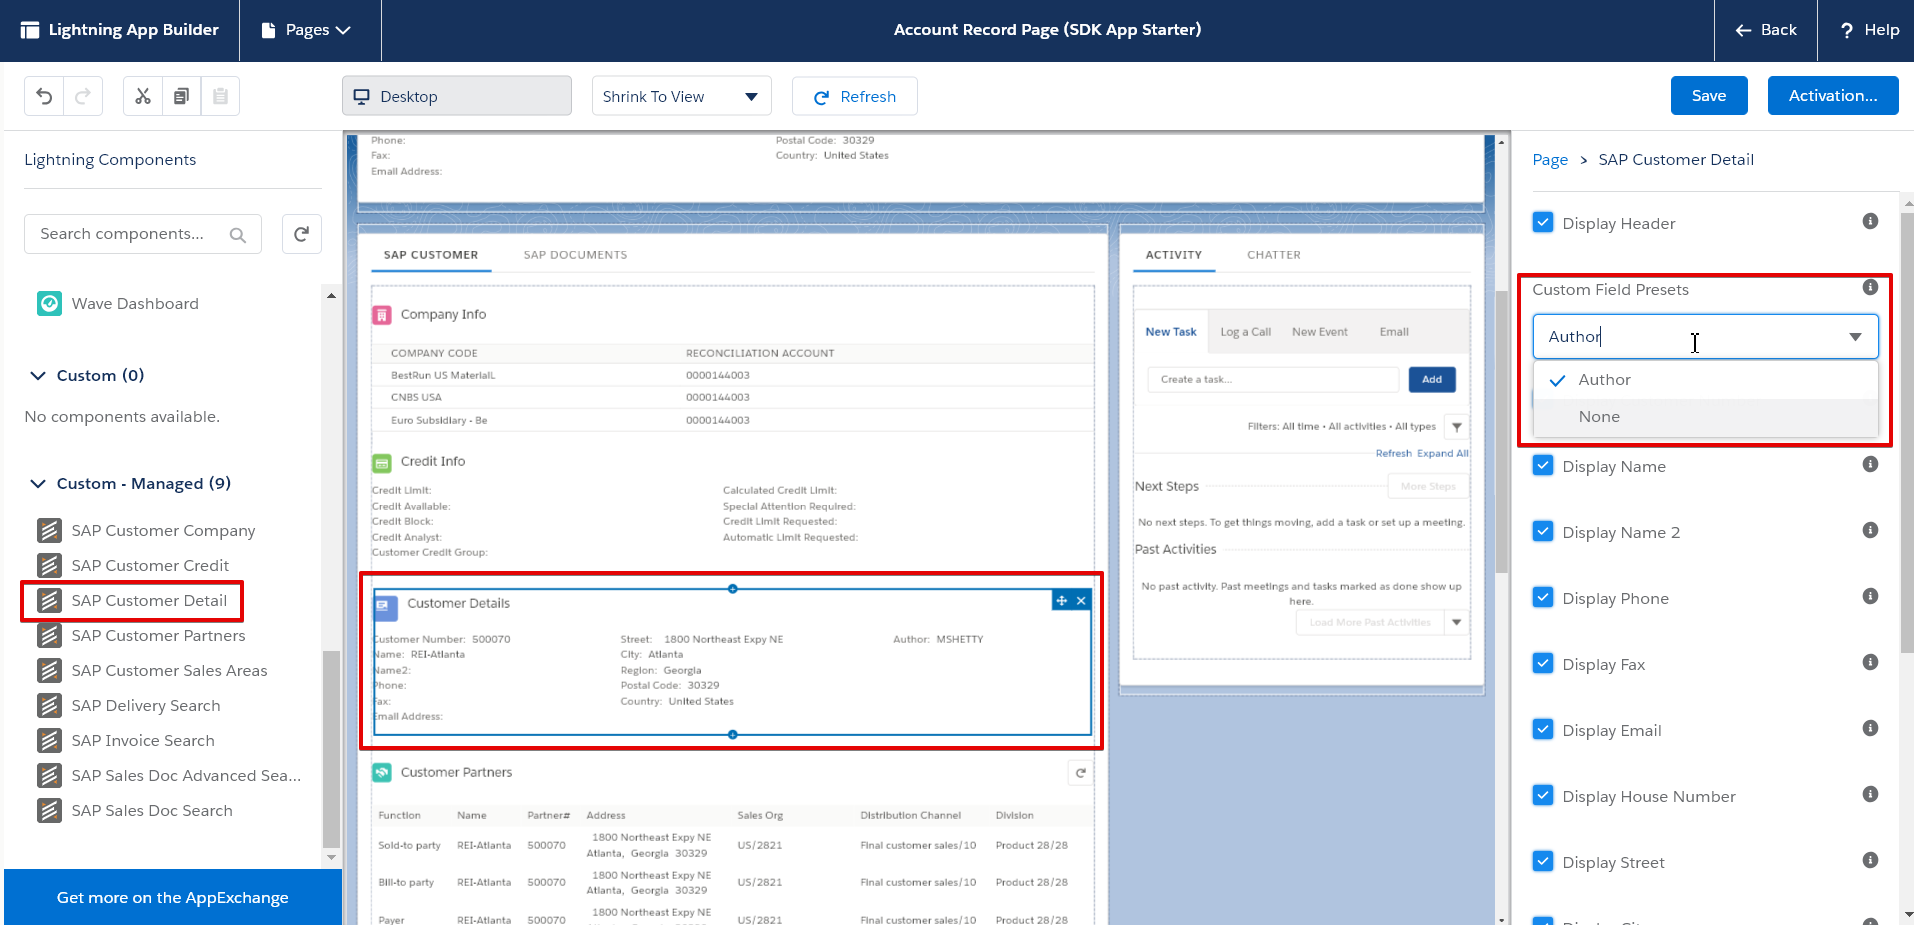
- The custom fields display in the Surface component.
Save the Page
- Click the Save button. The Page Saved modal displays.
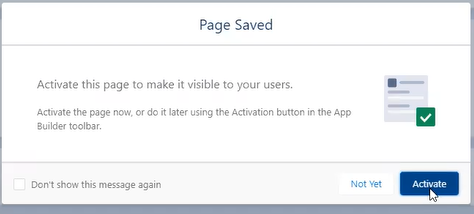
Activate the Page
- Click the Activate button. The Activation modal displays.
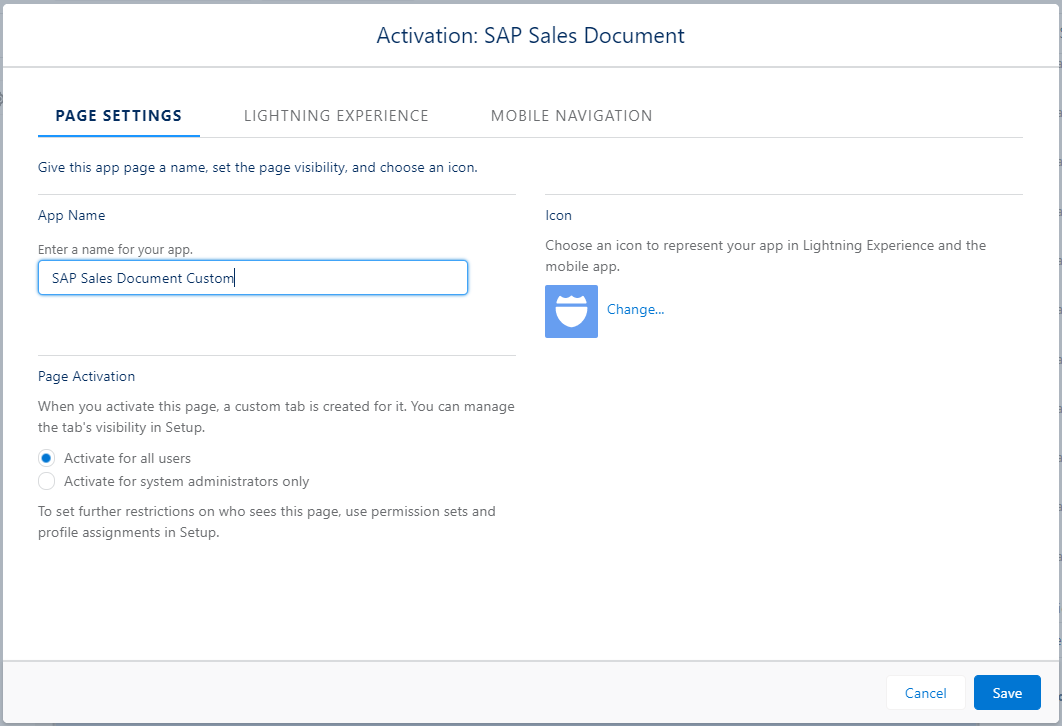
- Enter a name for your app in the App Name field (example: "SAP Sales Document Custom").
Select the Lightning App
- Click the Lightning Experience tab.
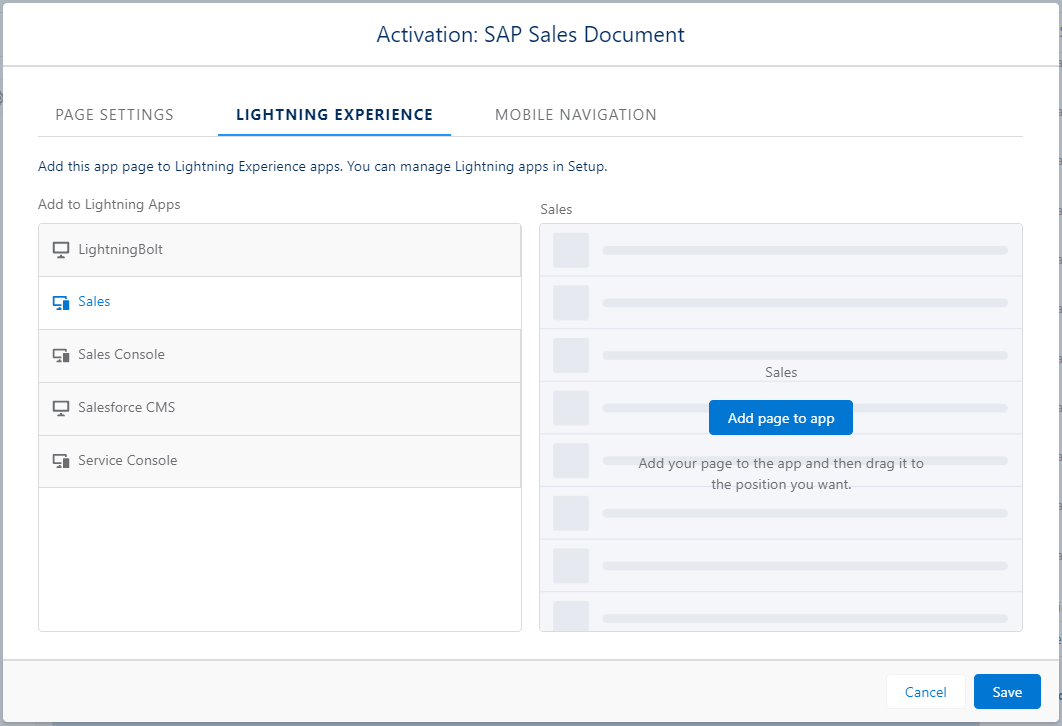
- Select an item from the Add to Lightning Apps column (example: Sales), then click the Add page to app button.
- Click the Save button.
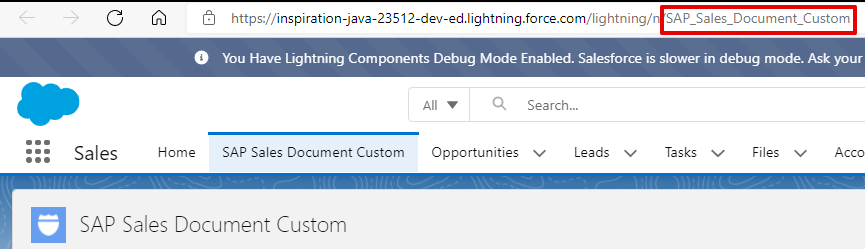
Since you saved and activated your Lightning App, the App Name that you created displays in App Launcher.
Configure the Override Default Page Link
You can override the default Surface detail components and redirect to your own custom detail components. Follow these steps:
- Go to App Launcher and click on your custom app name (example: SAP Sales Document Custom).
- Copy the last portion of the URL following the "/n/".
- Navigate to the Lightning App Builder page where you want to add your custom fields.
- Paste the copied portion of the URL into the Override Default Page Link field.
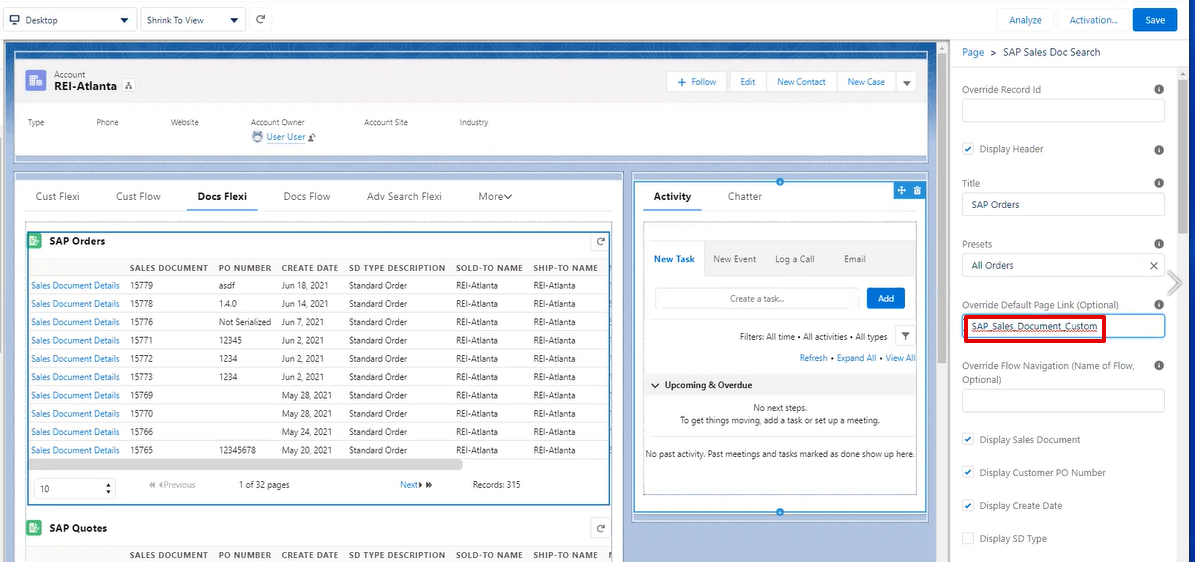
- Click the Save button.