Changing text labels
Summary
Every organization has its own internal domain dictionary and preferences for how information is labeled. Fortunately, Salesforce provides the Translation Workbench as a mechanism for overriding labels for managed packages.
NOTE: Organizations can use Salesforce's Translation Workbench to provide multi-language support.
To enable the translation, the administrator needs to set the default language for the user.
Step 1: Enable Translation Settings
- Navigate to Setup.
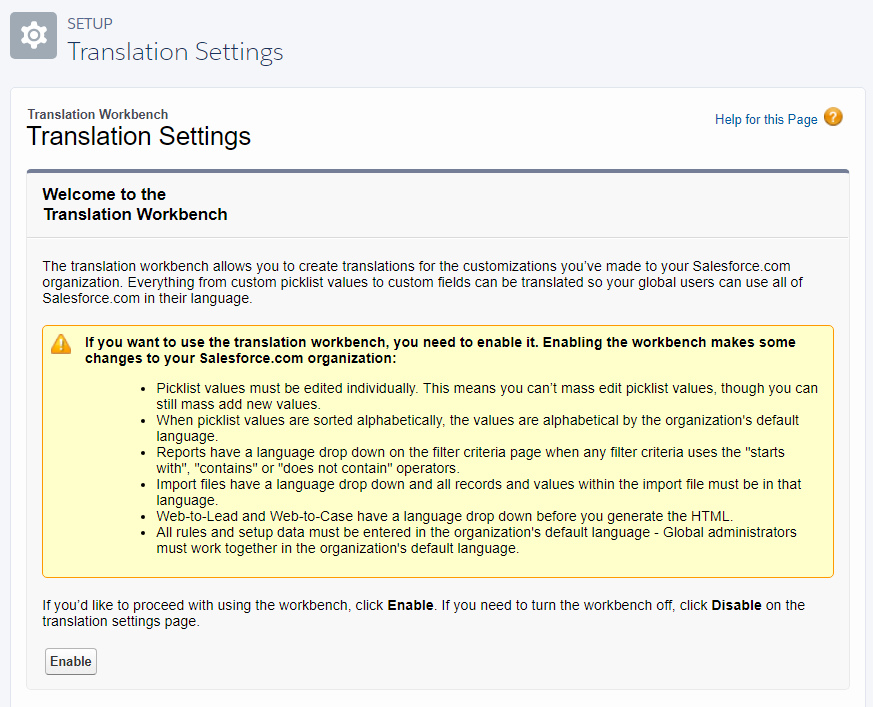
- Use the Setup Quick Find box to search for "Translation Workbench", then click the Translation Settings link.
- Click the Enable button.
- Click the Add button.
- Select the Language (English to override the defaults).
- Search and add a user to enable as a translator.
- Click the Save button.

Step 2: Edit the Managed Package Label
- Navigate to Setup.
- Use the Setup Quick Find box to search for "Custom Labels", then click the Custom Labels link.
- Click on the name of the custom label that you want to open.
- In the Local Translations / Overrides related list:
- Click the New Local Translations/Overrides button to enter a new translation.
- Click the Edit link next to a language to change a translation.
- NOTE: If you click Delete, Salesforce confirms that you want to delete, then removes the translation from the custom label.
- Select the Language you are translating into.
- Enter the Translation Text.
- NOTE: This text overrides the value specified in the label's Value field when a user's default language is the translation language.
- Click Save.
TIP: Which Label Do I Override?
You may find it confusing to decide which label to override for your usage, but there's an easy way to determine which label goes where (use the screenshot below as a reference):
- In the Categories column, all the labels for this app contain "enosix" at the beginning of each label.
- After that is the name of the component they're assigned to.
- Look at the component after you've saved your override to confirm that the change is complete.
-603b028fbfbde85b4e18210c9ad45384.png)