Quick Start Guide
In this quick start guide, you will follow steps to configure a link to sync SAP Customer data into your Salesforce Account objects. The Customer Sync link will make use of the EnosixCustSync RIO.
The data displayed in the screenshots is test data only, and you should expect to see your own data.
Prerequisites
Check if the Valence and enosix Sync for Salesforce packages are installed in your Sandbox.
- You have named credential configured that connects to your SAP system
- You have
ValenceandSync for Salesforcepackages installed - You have the
Valence Userpermission set assigned to your user
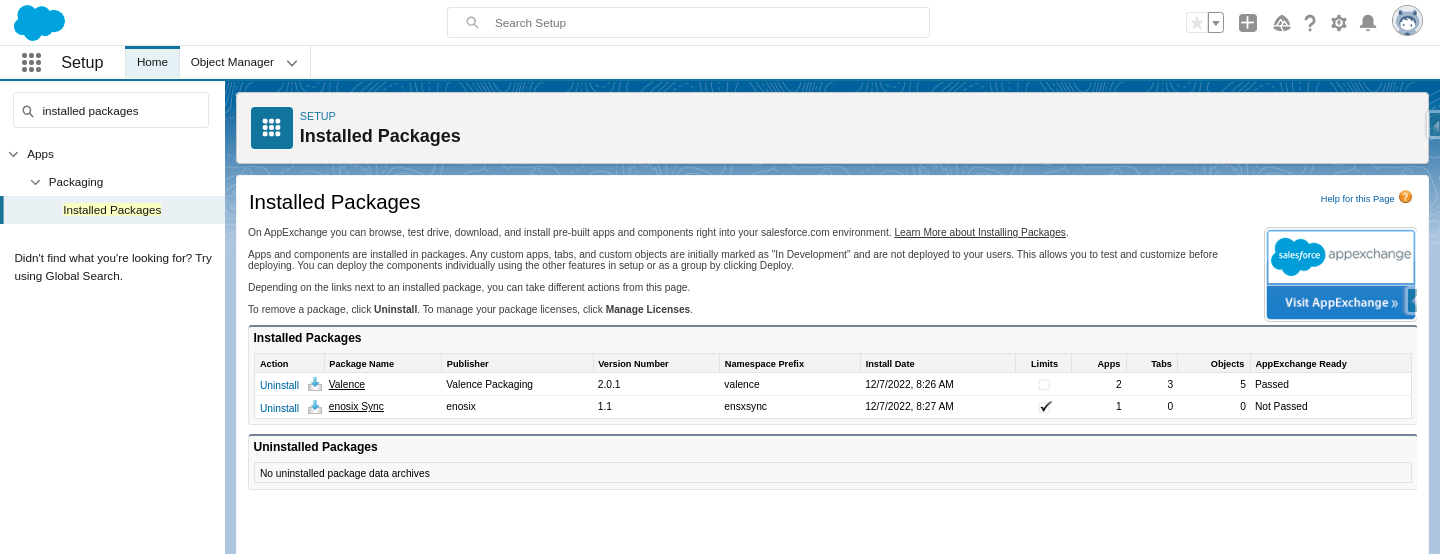
To verify if you have correct packages installed do the following:
- Go to
Setup->Home->Installed Packages.- Valence
- enosix Sync for Salesforce
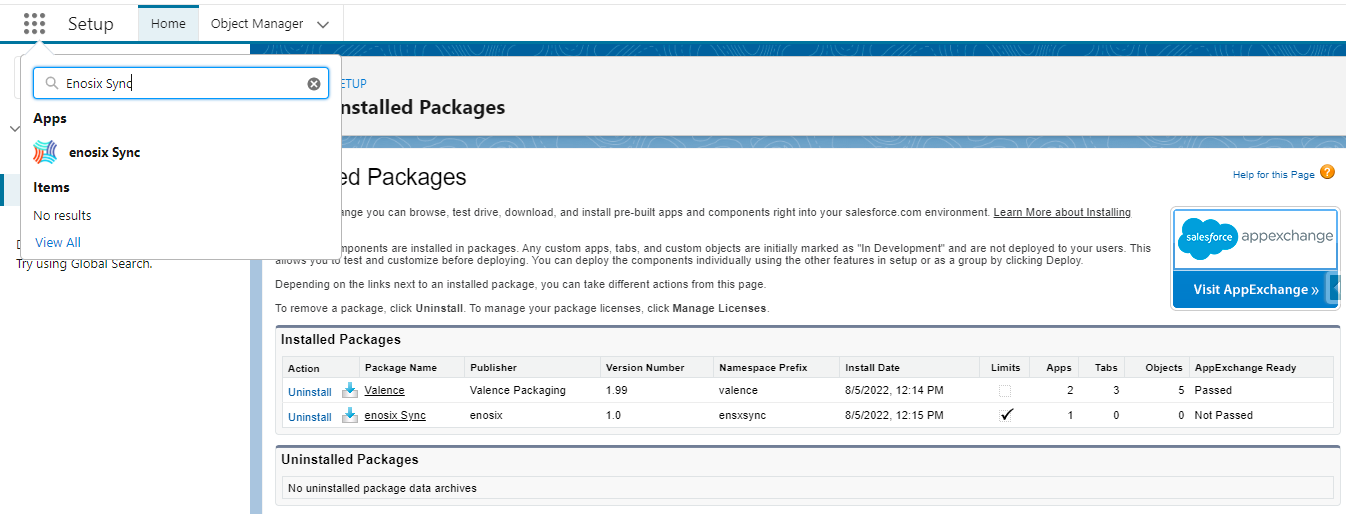
Launch the enosix Sync app
1. Go to App launcher
2. Search for enosix Sync
3. Select the enosix Sync app
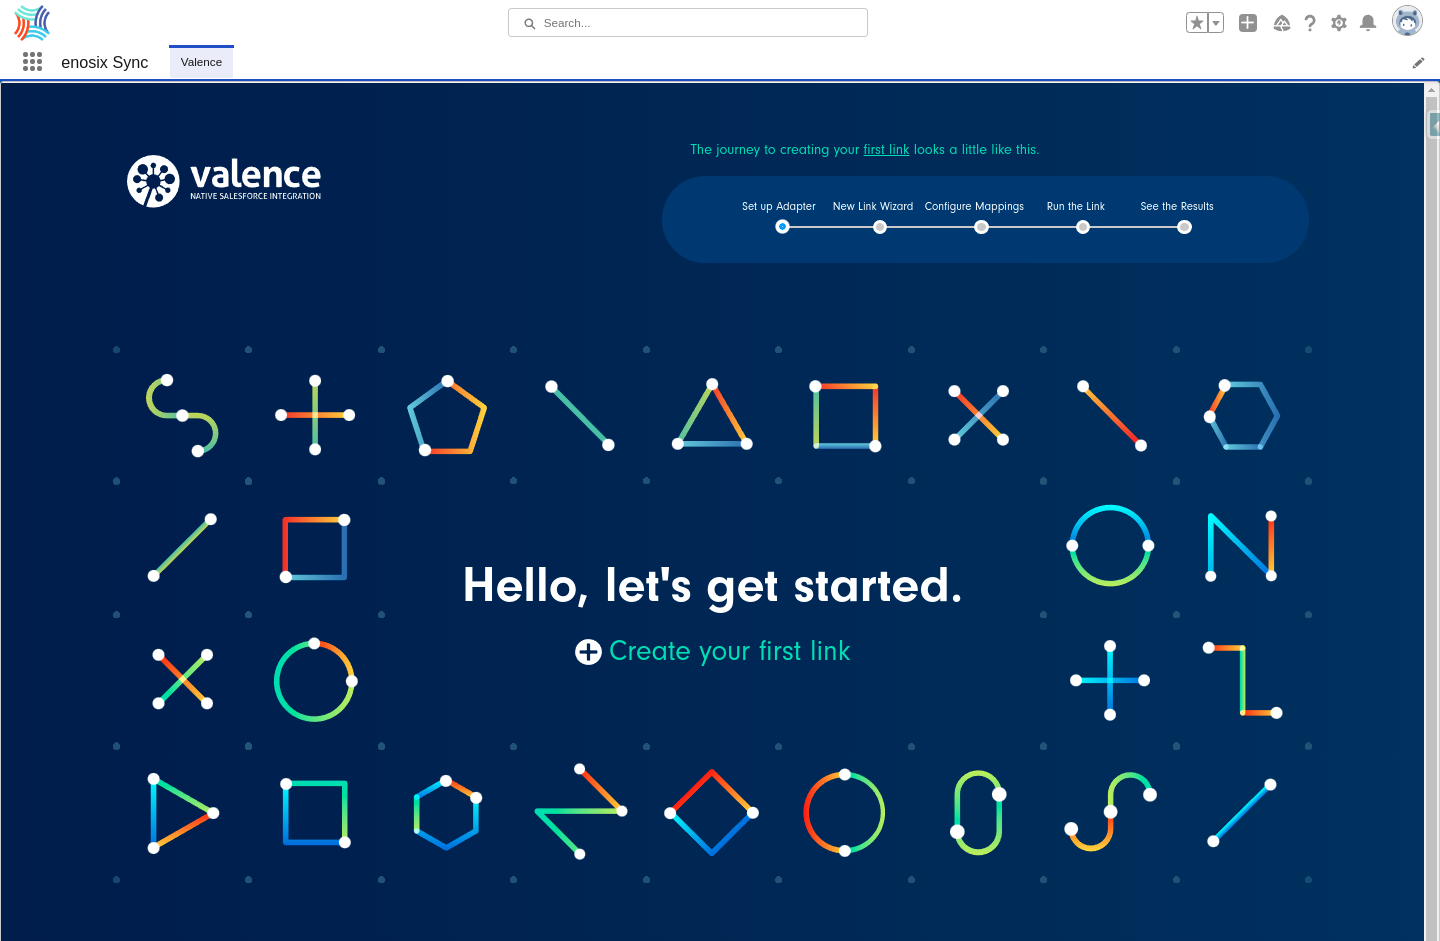
If you are running sync for the very first time, you will receive a guided wizard to create your first link.
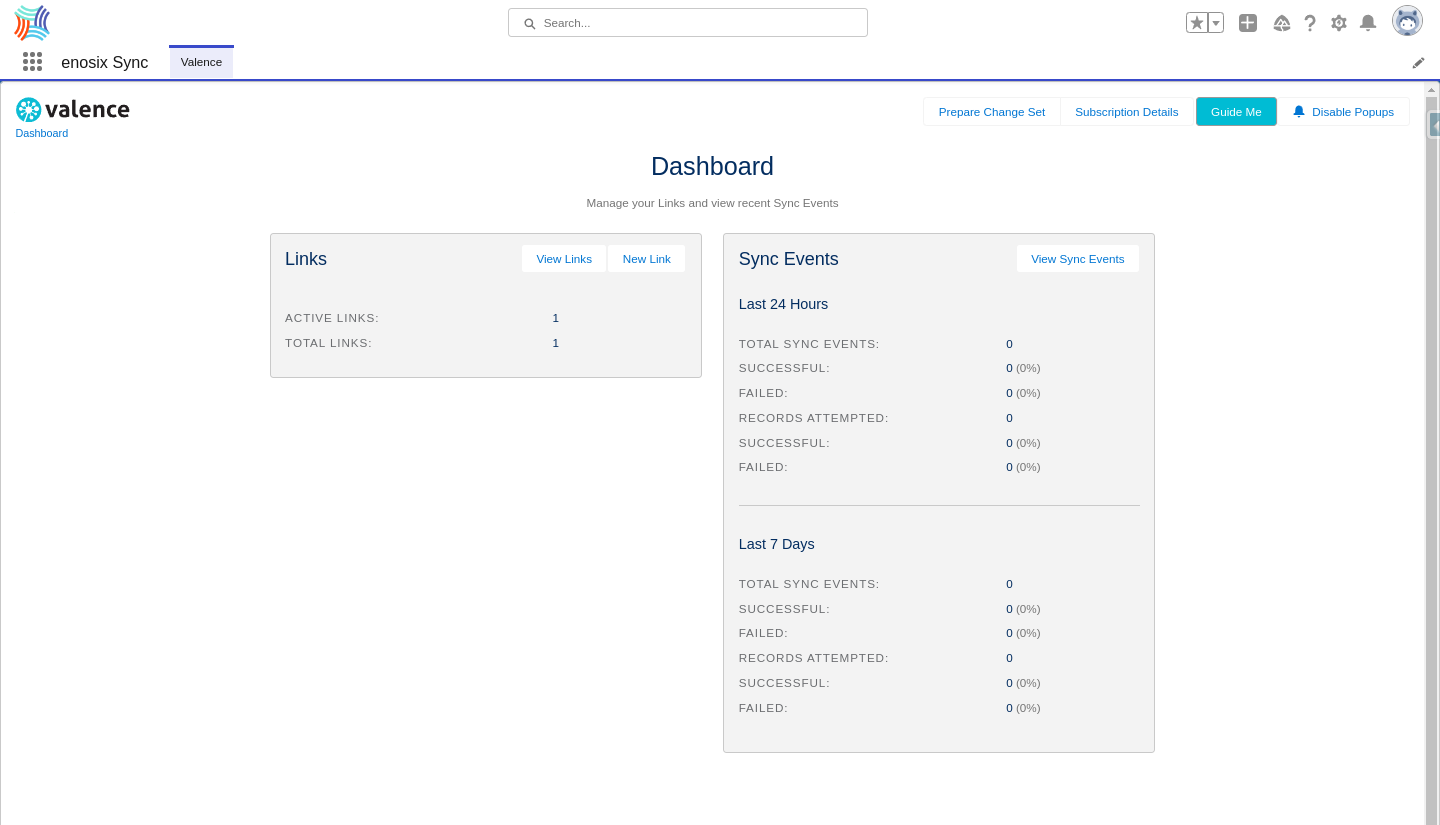
If you already have links configured, you will see the Sync dashboard
The rest of this guide will walk you through everything you need to do to create and run your first sync.
We are going to start with Creating a New Link and configuring its settings.