Apps
Overview
Apps are designed to easily integrate into your workflows by bundling API endpoints together for deployment into a specific cloud environment (development, test, production). In a typical case, you create a Project that has a development App, a test App, and a production App which share the same APIs, but connect to different back ends and are deployed into different cloud environments. You can refine an App in your development environment, test it in your QA area, and then migrate that same App into your production system with just a few clicks.
Add an App
To add an App to a Project, follow these steps:
- Click the desired Project name in the enosix Connect console to display its Project Info screen.
- Click the Apps sub-heading beneath the selected Project name to display the Apps screen.
- Click New App to display the Deploy App wizard.
- Click a cloud platform button to select your desired cloud platform.
- Select your cloud platform’s Region from the drop-down list and follow the instructions to connect to your cloud platform.
- You can edit the Application Name, then select the appropriate Organization and Space from their drop-down lists. Click Next.
- Now you see the App’s name along with your selected Cloud Provider, Organization, and Space. Click Deploy.
- A message indicating that your application has been deployed displays. Click Finish. The Apps screen displays and lists the existing Apps within the selected Project.
Note: At any point while you’re adding an App to a Project, you can go back to a previous step in the process. Simply click on one of the steps (Select Cloud, Authentication, Configuration) listed near the top of the Deploy App wizard.
Display Information for an Existing App
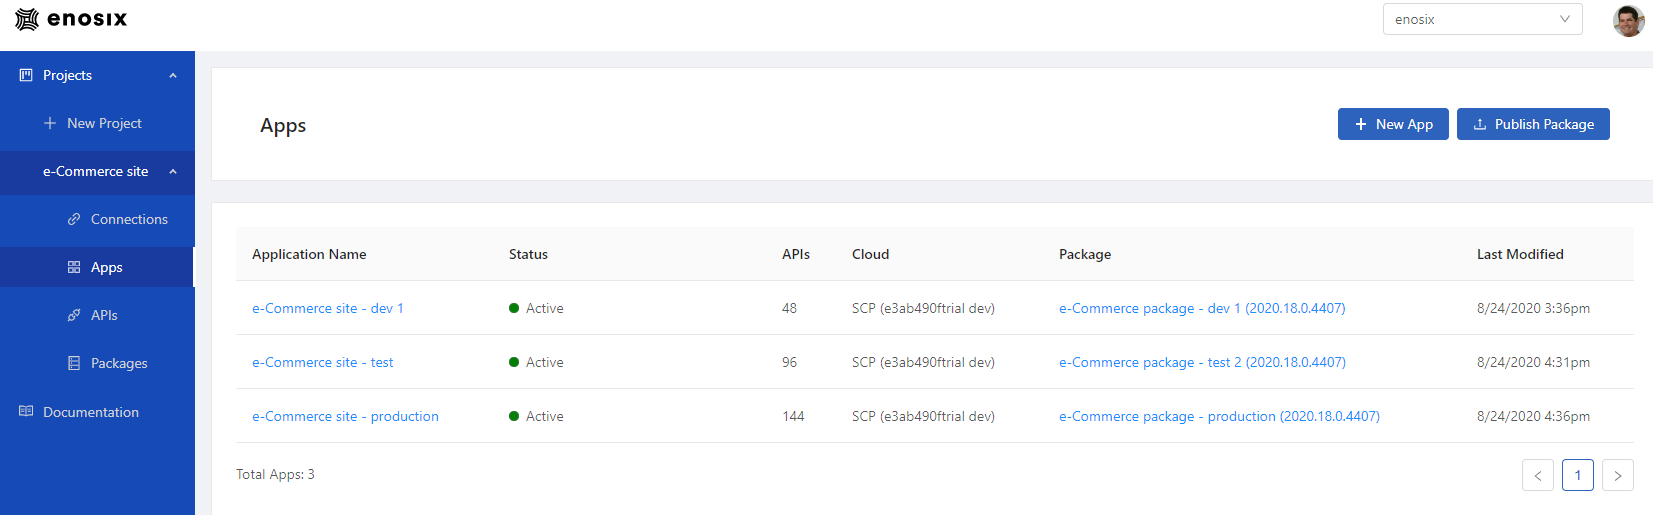
To view a list of existing Apps, click the Project name in the enosix Connect console’s left navigation pane. The Project’s sub-headings display. Click the Apps sub-heading and a list of existing Apps displays the following information:
- App Name - the App’s name
- Status - the App’s current status: Active, Inactive, Pending Changes, Grace Period, Expired, etc.
- APIs - the number of APIs included in the App
- Cloud - the name of the App’s cloud provider (e.g., SCP = SAP Cloud Platform)
- Package - the App’s Package name and version
- Last Modified - the date and time when the App was last modified
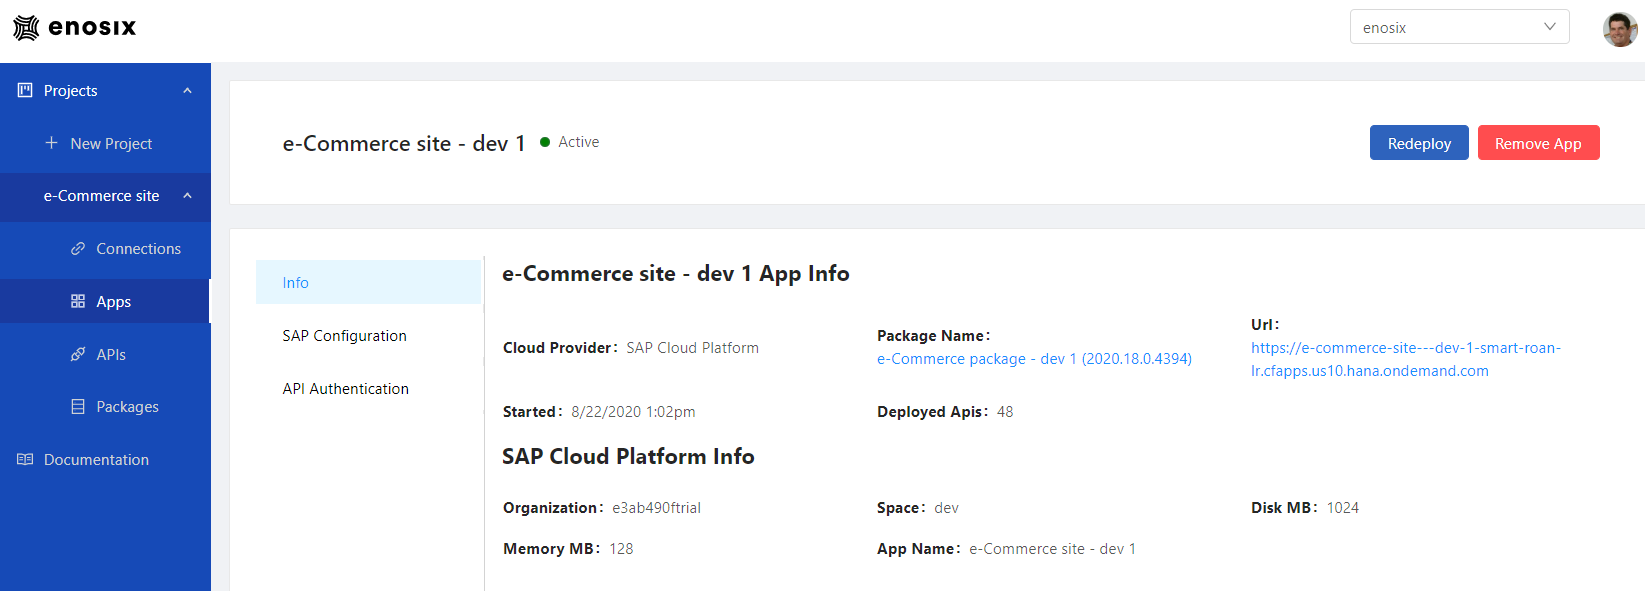
To view additional information for an App, click an App name in the list of Apps. The App Info screen opens to display the following App information:
- The App’s name
- Cloud Provider - the name of the App’s cloud provider (e.g., SAP Cloud Platform)
- Package Name - the App’s Package name and version
- URL - the App’s web address (URL)
- Started - the date and time when the App was created
- Deployed APIs - the number of APIs included in the App
The App Info screen also displays the following cloud platform information:
- Organization - the Organization that was selected in the Deploy App wizard
- Space - the Space that was selected in the Deploy App wizard
- Disk MB - the amount of disk space that the App uses
- Memory MB - the amount of memory space that the App uses
- App Name - the App’s name
Configure a Connection for an App
You can configure multiple Connections per App, but you can configure each Connection only once per App. To configure a Connection to an App, follow these steps:
- Click the desired Project name in the enosix Connect console to display its Project Info screen.
- Click the Apps sub-heading beneath the selected Project name to display the Apps screen.
- In the Apps screen, click the desired App name. The App Info screen displays.
- Click SAP Configuration, then click Add Connection Settings to display the Add Connection Settings dialog.
- Select your desired Connection from the list of existing Connections.
- Select Service Account or SAP Cloud from the drop-down list.
- If you select Service Account, you must enter your Username, Password, URL, and Client. The contents of the Username and Password fields will be passed to SAP to perform API authentication. Enter a three-character numeric value (e.g., 100, 200, 800) in the Client text box. This value corresponds to the SAP data client that’s configured in the Connection.
- If you select SAP Cloud, you must select a Destination from the drop-down list. The first time you use a Cloud Connector in a particular Organization, you need to configure it in SAP Cloud Foundry before it displays in the Destination list.
- Click Test to test the Connection Settings. If the settings you selected are valid, you see a “Connection Successful” message. Click Save.
Note: In step 9, if the settings you selected are invalid, you see a “Connection Test Failed” message and an error status. Click Edit Configuration to return to step 5.
Configure API Authentication Within an App
For security purposes, each published API call requires authentication. You can select the API authentication method that suits your ecommerce site’s needs:
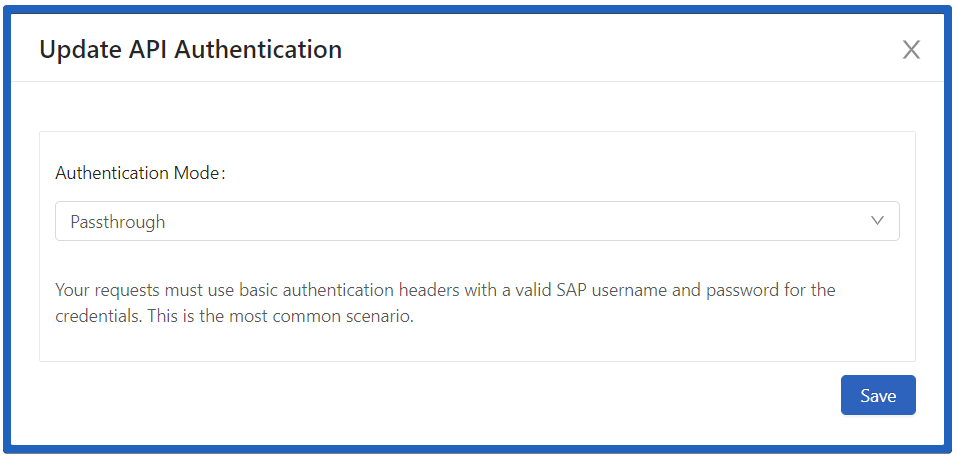
Passthrough
When you select this authentication method, your API requests must use basic authentication headers with a valid SAP username and password for the credentials. This authentication method is selected by default and is the most commonly-used scenario.
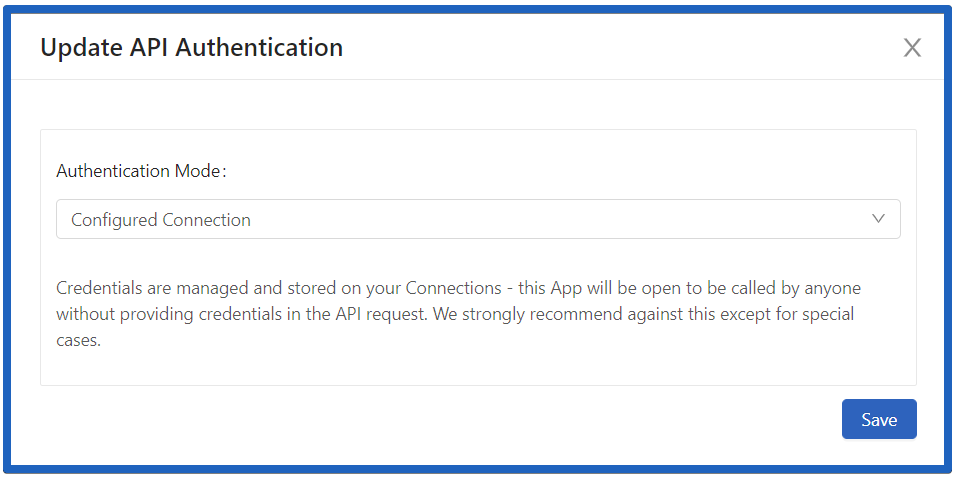
Configured Connection
When you select this authentication method, API authentication credentials are managed and stored for your Connections. As a result, the enosix Connect App can be called by anyone without providing credentials in the API request. We strongly recommend against selecting this authentication method because it circumvents basic security practices. Use this authentication method only for special cases.
To configure API authentication within an App, follow these steps:
- Click the desired Project name in the enosix Connect console to display its Project Info screen.
- Click the Apps sub-heading beneath the selected Project name to display the Apps screen.
- In the Apps screen, click the desired App name to display the App Info screen.
- Click API Authentication. The App Authentication screen displays and indicates which authentication method and associated settings are currently selected.
- To change the authentication method, click Update Authentication to display the Update API Authentication dialog.
- Select your desired authentication method from the drop-down list.
- Click Save to save your desired API authentication method and associated settings.
Remove an App
To remove an App, follow these steps:
- Click the Project name that contains the App that you want to remove. The Project’s Project Info screen displays.
- Click the Apps sub-heading in the left navigation pane. The Apps screen displays a list of the existing Apps.
- Click the name of the App that you want to remove. The App Info screen displays.
- Click Remove App (in the upper right of the screen) to display the Remove App dialog. This dialog asks whether you are sure that you want to remove this App.
- App names are case sensitive. To remove the App, enter the exact App name in the text box and click Yes, remove this App.
Note: When you remove an App from within the enosix Connect console, it’s also removed from your SCP Space.
Redeploy an App
To redeploy an App, follow these steps:
- Click the Project name that contains the App that you want to redeploy. The Project’s Project Info screen displays.
- Click the Apps sub-heading in the left navigation pane. The Apps screen displays a list of the existing Apps.
- Click the name of the App that you want to redeploy. The App Info screen displays.
- Click Redeploy (in the upper right of the screen) to display the Redeploy App dialog. This dialog asks whether you are sure that you want to redeploy this App.
- To redeploy this App, click Redeploy.
Q&A: Apps
What does it mean when “Base Version” is listed in the Apps screen’s Package column?
When an App is initially deployed, “Base Version” displays in the Apps screen’s Package column. The following list provides potential reasons/solutions:
- The App contains no bundled APIs. You need to bundle APIs into the App before you publish it as a Package.
- A Package exists with bundled APIs, but the Package hasn’t been published. You need to publish the Package.
Why is my Add Connection Settings button disabled?
When the Add Connection Settings button is disabled, it indicates that all available Connections have been configured for the current App. You must add at least one Connection to the current Project to enable the Add Connection Settings button. To add a Connection, follow the instructions in Add a Connection.
Why do I need to configure a connection to SAP if I’m going to pass through credentials on each API call?
Even if you plan to use user-level credentials on each request when calling your API endpoint, you still need to provide a service account or connect with an SAP Cloud Connector. This connection is used to poll the system when selecting APIs in the enosix Connect console.
Why is my Connection not listed in the Add Connection Settings drop-down list?
Only existing Connections that haven’t been configured are displayed in the Add Connection Settings drop-down list.
Why did my configuration test fail?
The most common failure message is a 401(Unauthorized).
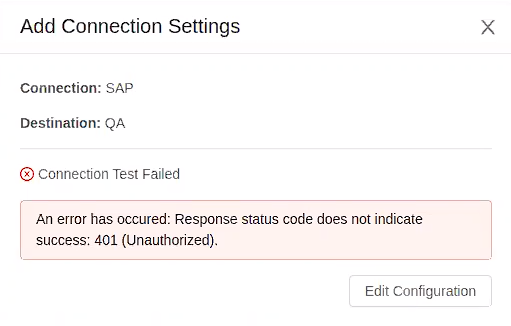
This almost always means that the credentials on the cloud connector (or that were supplied on the connection configuration screen) are not valid SAP credentials. Note that the Cloud Connector connection test in SAP BTP does not actually validate the credentials that are stored on it - so that test may be successful and then this test fails due to invalid credentials.
Why is my App not listed in the Apps screen?
The following list provides potential reasons why an App is not listed in the Apps screen:
- Your App was removed.
- You exited from the Deploy App wizard before the App was deployed.
- An error occurred during App deployment.
When do I need to redeploy an App?
You need to redeploy an App after you make changes to an App (like adding a Connection or changing your API authentication settings). Additionally, each time you deploy an App, it’s set to terminate when your enosix license expires. When you renew your license, you also need to redeploy each App to reset this timer.