Creating External Credentials for enosix Sync
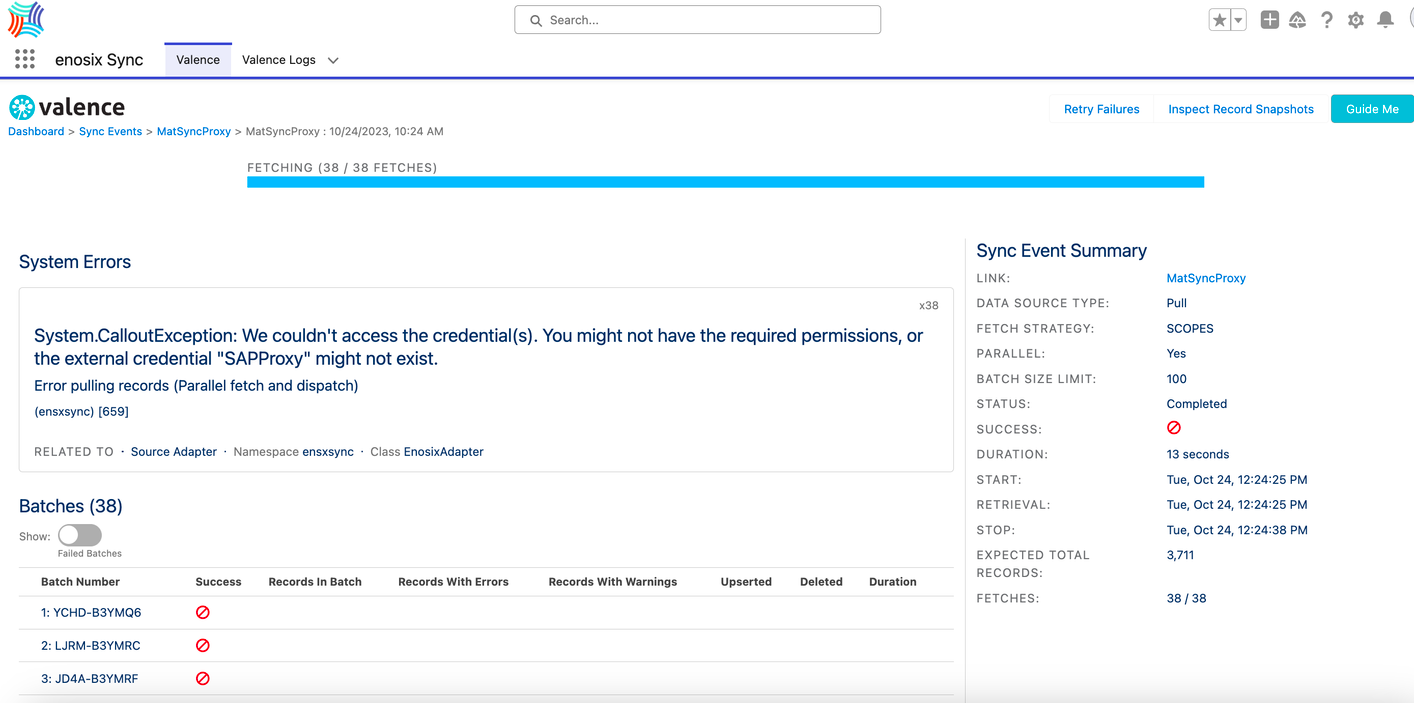
When using external credentials in Salesforce, user receives an error when attempting to set up/execute an enosix sync. This issue can happen when either the automated process user or the executing user does not have correct permissions.
System.CalloutException: We couldn't access the credential(s). You might not have the required permissions, or the external credential "SAP_CREDENTIAL" might not exist.
Below is the step by step guide on how to successfully configure the applications.
Setup: Named Credentials
-
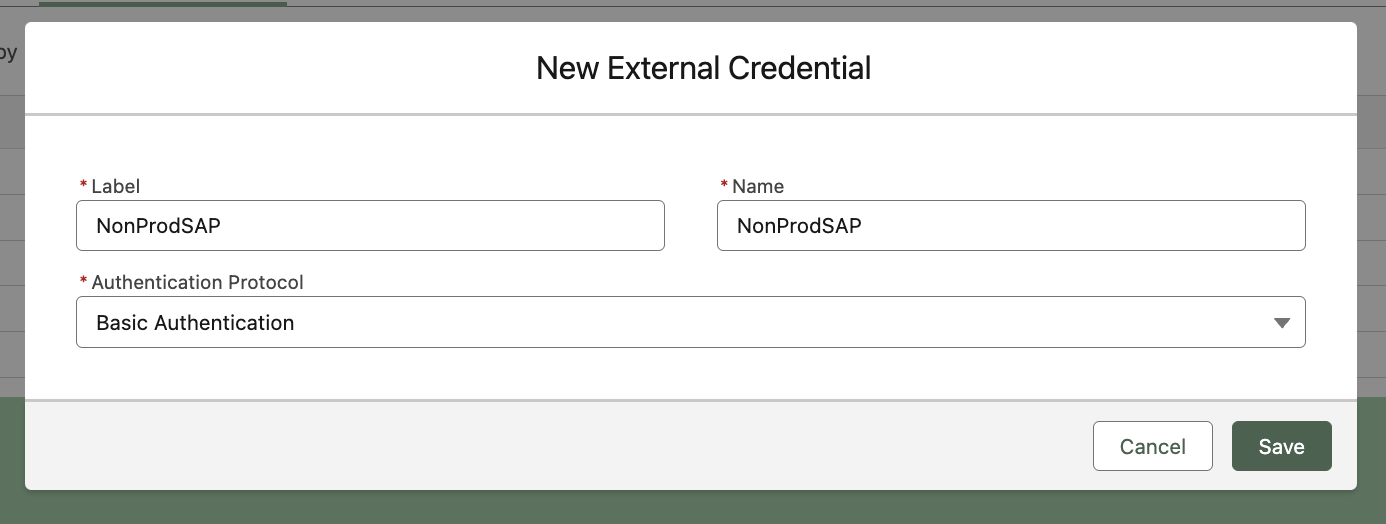
Select External Credentials tab and create New External Credential by providing:
- Label
- Name
- Authentication Protocol = Basic Authentication.
-
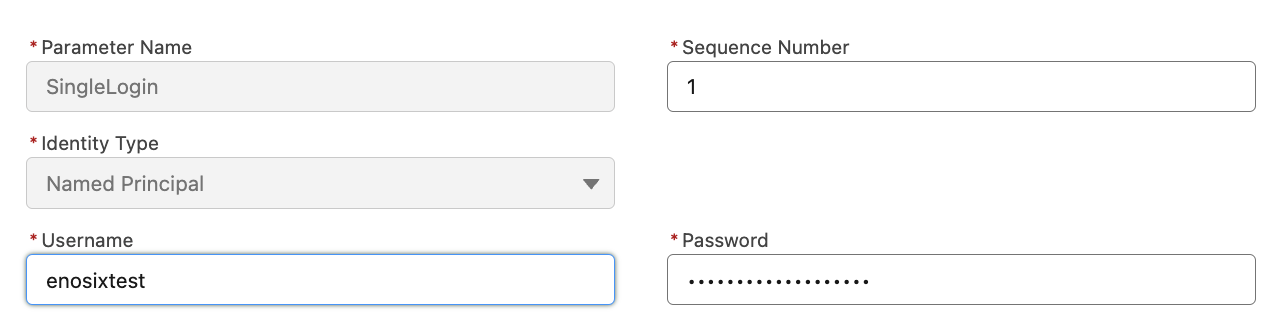
Create New Principal by providing:
- Parameter Name
- Sequence Number (in case you have more than one Principal and one has to be prioritized over the other)
- Identity Type (whether you are going to have a singe login or multiple logins). In the example Named Principal Identity Type is used.
-
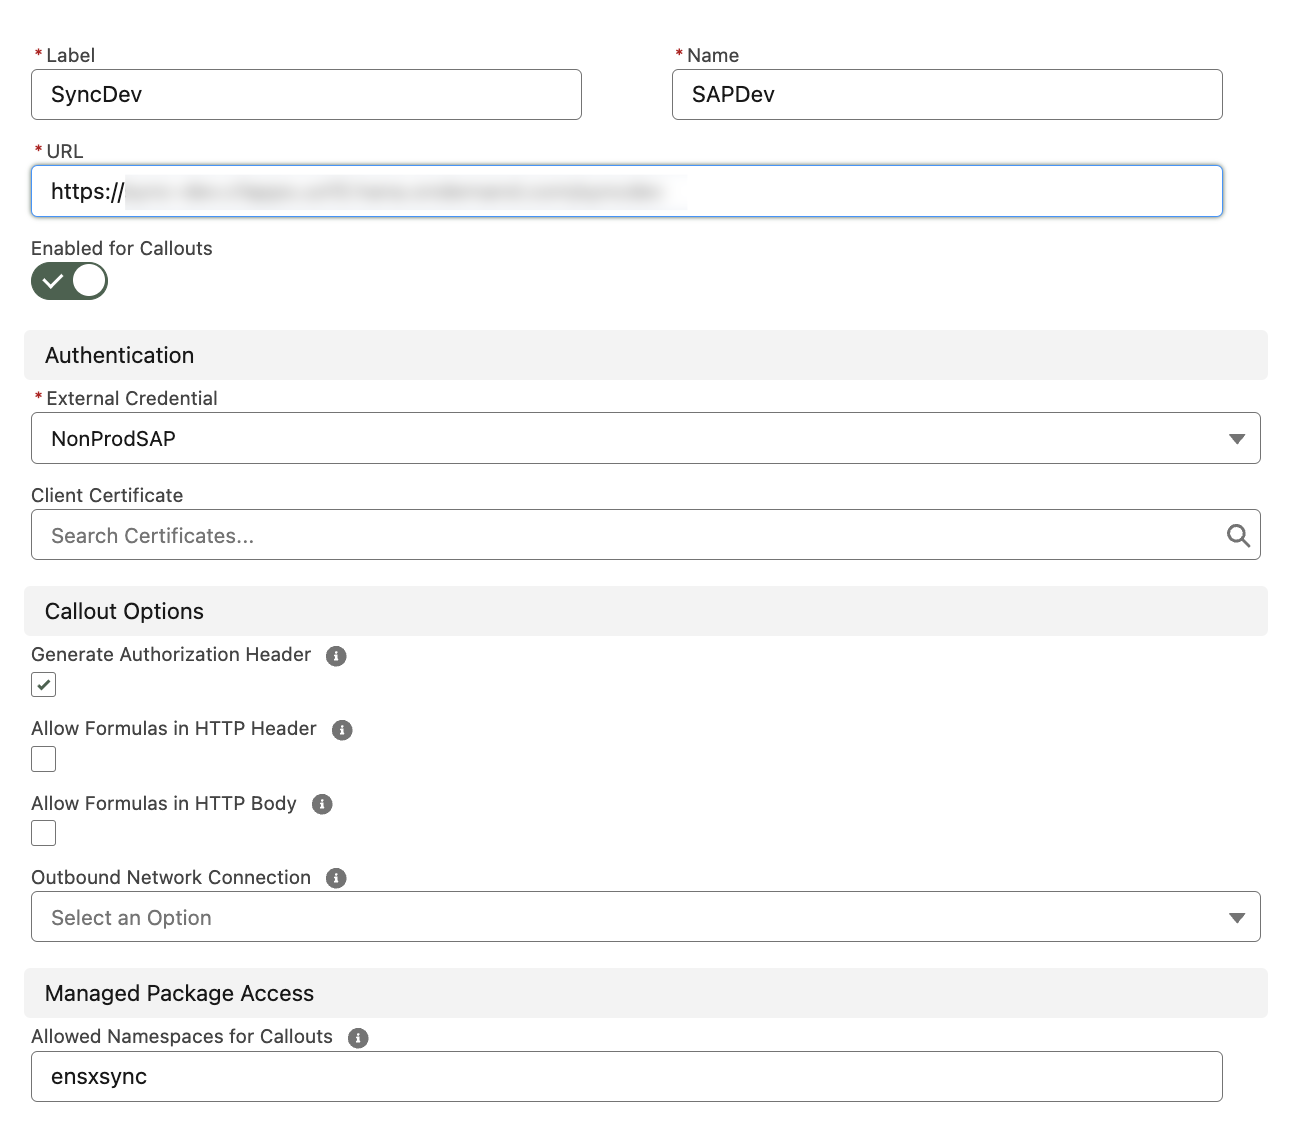
Go back to Named Credentials tab and create a new named credential (do not create a legacy named credential):
- Label
- Name
- URL (proxy)
- Enabled for Callouts (yes)
- External Credential: Select the external credential you created in step 1
- Generate Authorization Header (yes)
- Allowed Namespaces for Callouts : ensxsync, ensxapp, ensxsdk
Setup: Permission Sets
-
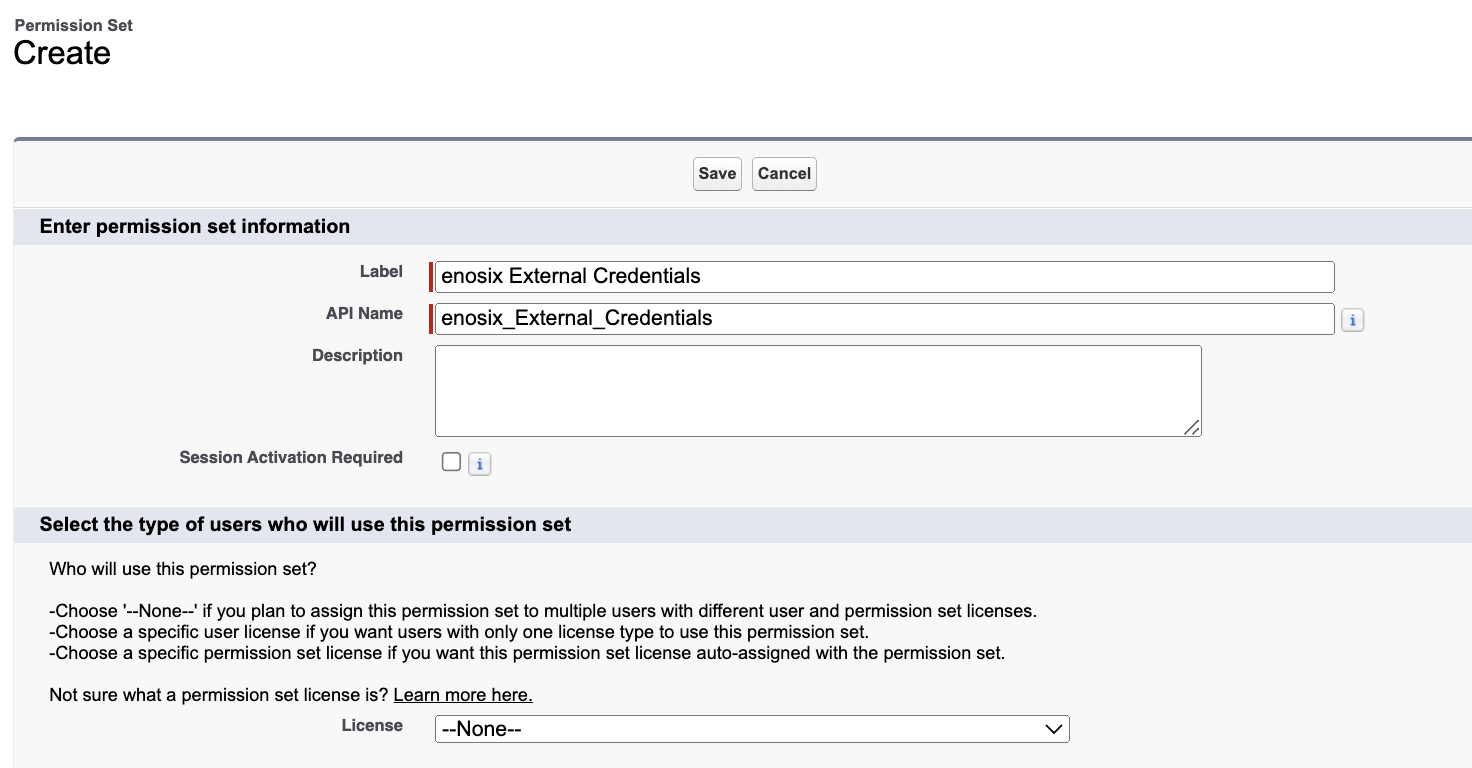
Create a New Permission Set by providing
- Label = enosix External Credentials
-
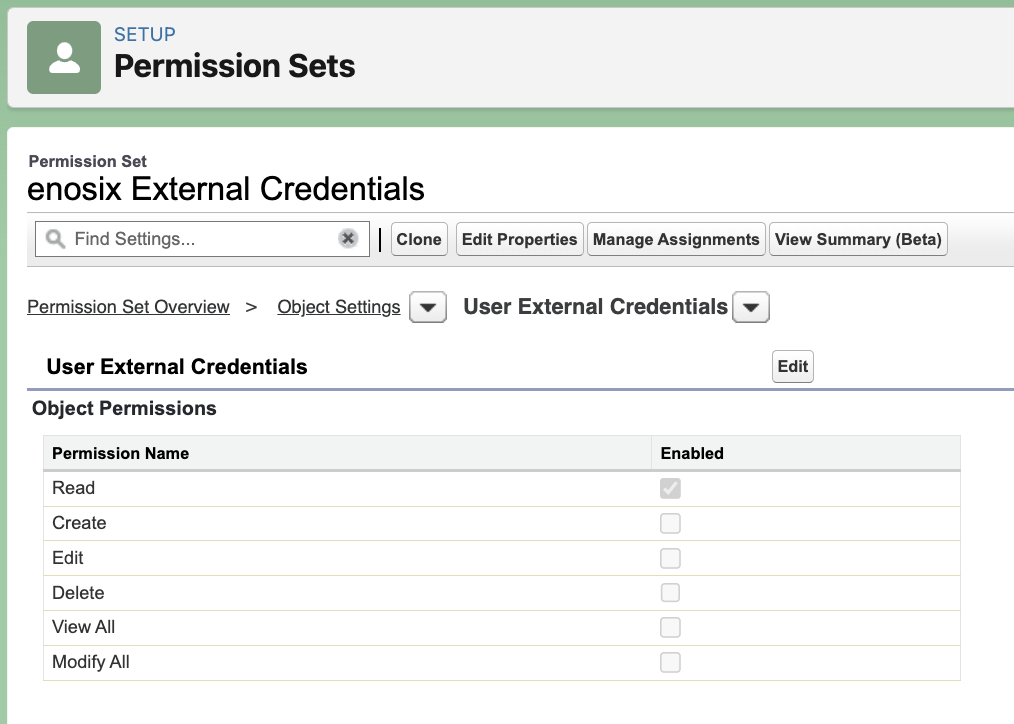
Under the Apps section of enosix External Credentials permission set click on
Object Settings. -
From the list of objects select
User External Credentials -
Edit the permissions by granting READ access.
-
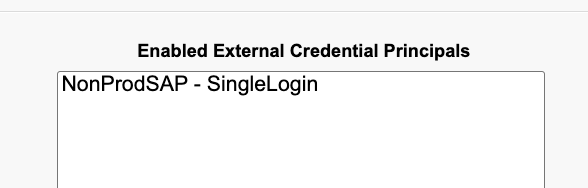
Under the Apps section of enosix External Credentials permission set click on
External Credential Principal Access -
Enable earlier created Principal
-
Assign
enosix External Credentialspermission set to your user.
Assign Permission Set to Automated Process User
The Automated Process user is a built-in behind-the-scenes user that exists in every single org.
It is invisible to Setup > Users, but it can be viewed if queried:
-
Get the Automated Process user's
IdSELECT Id, Name, UserType, ProfileId FROM User WHERE UserType = 'AutomatedProcess' AND Alias = 'autoproc'noteThis query assumes there is only one Automated Process user with alias 'autoproc'. If multiple users are returned, review the results and select the correct user Id to use in the following steps.
-
Get the
Idof the Permission Set Group (or Permission Set).SELECT Id FROM PermissionSetGroup WHERE DeveloperName = 'your_Permission_Set_Group_API_Name'SELECT Id FROM PermissionSet WHERE name = 'your_Permission_Set_API_Name' -
Associate the Permission Set Group (or Permission Set) with the user using an
INSERTstatement from the Salesforce Developer Console.INSERT new PermissionSetAssignment(
AssigneeId = '<Id-for-your-Automated-Process-User>',
PermissionSetGroupId = '<Id-for-your-Permission-Set-Group>'
);INSERT new PermissionSetAssignment(
AssigneeId = '<Id-for-your-Automated-Process-User>',
PermissionSetId = '<Id-for-your-Permission-Set>'
);
Assign permission to Automated Process all-in-one example
Either run the previous steps manually, or you can run them in one pass with the following example.
-
Open
Developer Console -
Select
Debug -
Click
Open Execute Anonymous WindowinfoExample code: Make sure you update the
your_Permission_Set_Group_API_Nameoryour_Permission_Set_API_Namevalue accordingly// Assign a Permission Set Group to the Automated Process user
Id myPermissionSetGrouptId = [SELECT Id FROM PermissionSetGroup WHERE DeveloperName = 'your_Permission_Set_Group_API_Name'].Id;
List<User> autoprocList = [SELECT Id FROM User WHERE UserType = 'AutomatedProcess' AND Alias = 'autoproc'];
System.assertEquals(1, autoprocList.size(), 'Error: Expected exactly one Automated Process user');
Id autoprocUserId = autoprocList[0].Id;
INSERT new PermissionSetAssignment(
AssigneeId = autoprocUserId,
PermissionSetGroupId = myPermissionSetGrouptId
);// Assign a Permission Set to the Automated Process user
Id myPermissionSetId = [SELECT Id FROM PermissionSet WHERE name = 'your_Permission_Set_API_Name'].Id;
List<User> autoprocList = [SELECT Id FROM User WHERE UserType = 'AutomatedProcess' AND Alias = 'autoproc'];
System.assertEquals(1, autoprocList.size(), 'Error: Expected exactly one Automated Process user');
Id autoprocUserId = autoprocList[0].Id;
INSERT new PermissionSetAssignment(
AssigneeId = autoprocUserId,
PermissionSetId = myPermissionSetId
);warningIf the code throws this error:
Error System.DmlException: Insert failed. First exception on row 0; first error: TABSET_LIMIT_EXCEEDED, Can't complete this operation because you reached the limit of 0 custom tabs for Automated Process for the Automated Process user license.Then follow the directions here Unable to Assign Permission Set to Automated Process User to delete the Knowledge tab from the org.
Validation Rules
For any Validation Rule that needs to be bypassed by enosix Sync that isn’t controlled by a Permission Set, add the following exclusion to the validation rule:
TEXT($User.UserType) <> 'AutomatedProcess'