Post-Installation SAP Steps
Follow these steps to activate the http services:
- Log in to your SAP system.
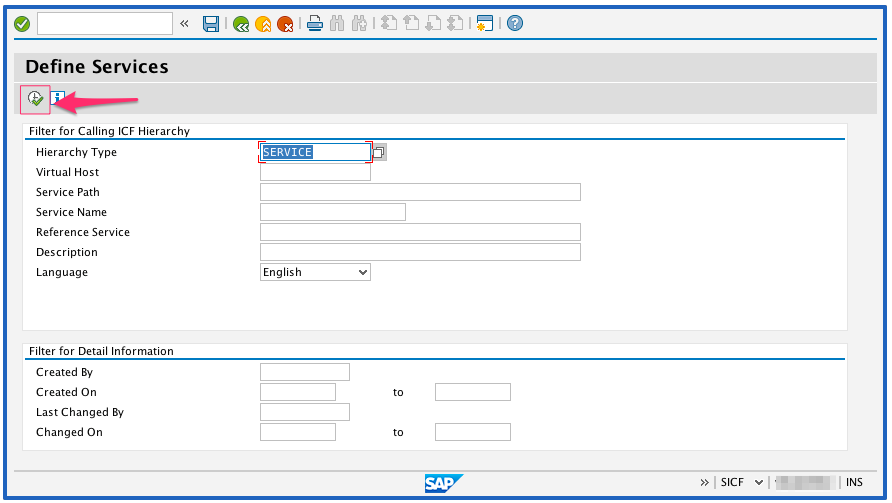
- Start transaction SICF (SAP Internet Communication Framework).
-
Click the execute button or press F8.
-
Expand the default host node.
-
Right click the enosix node.
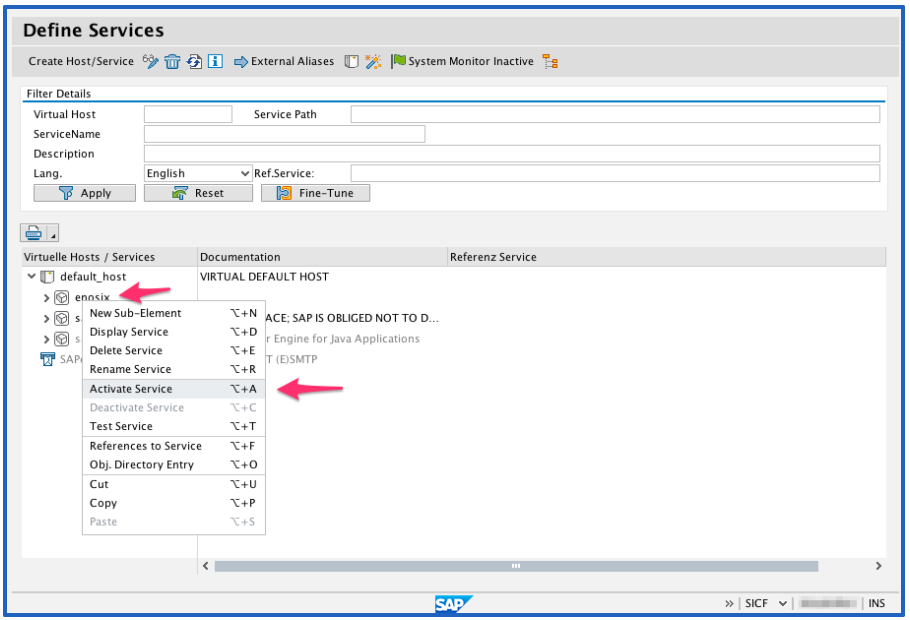
- Select the Activate Service menu item.

- Click the second Yes button. This activates the enosix node along with all of its children.
IMPORTANT: It’s crucial that you activate the enosix node along with all of its children. Failure to do so will cause issues when connecting from external clients.
Follow these steps to activate the Salesforce Integration App Smart Business Objects:
- Log in to your data client that’s going to be connected with Salesforce. Run transaction /n/ENSXSFCI/CONFIG.

-
If you want to create a transport and move SBO Configuration through your landscape, you can check Create Transport. A dialog will pop up to create a customizing transport. You can run this program in all your systems and create the same configuration after you finish your installation.
-
After the program finishes successfully, you can run transaction /n/ENSX/PORTAL to verify that the configuration is correct.
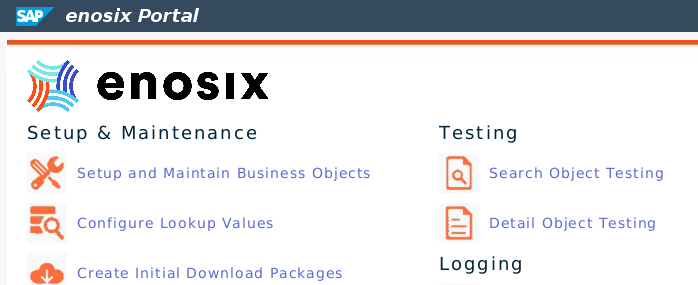
- Click Setup, then click Maintain Business Objects.

- Click Define Business Objects.
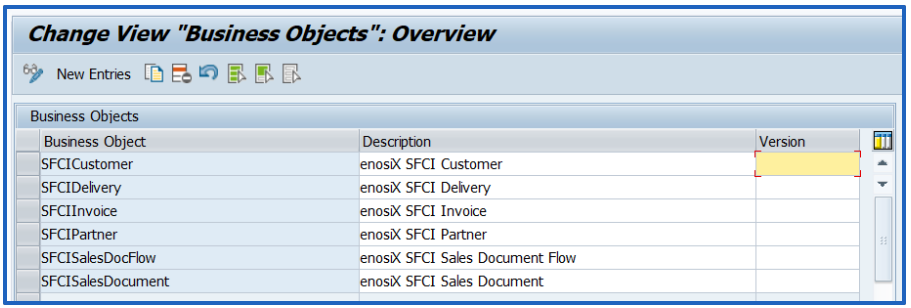
- Confirm that the table is populated with SFCI Objects, then go back and click Configure Business Objects Classes.
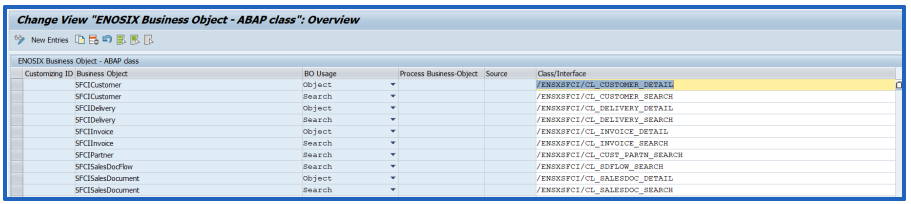
- Confirm that this table is also populated with SFCI Objects.
Congratulations! Your enosix Add-On is installed, configured, and your Salesforce to SAP Integration is ready to use!