Installation and Configuration
Install packages
- Please contact enosix support for package install process.
- Before you start to install packages, you should already have installed Surface and configured SAP connectivity.
- B2B commerce activation is required before package installation can start.
Configure your store to connect to SAP
Your enosix B2B Store Config Lightning component lets you determine how your ecommerce store interacts with SAP. For example, SAP product pricing relies on a Sales Area which is a combination of the Sales Organization, Distribution Channel, and Division. The value that you select for each of these fields helps to determine the SAP pricing data that your customers see.
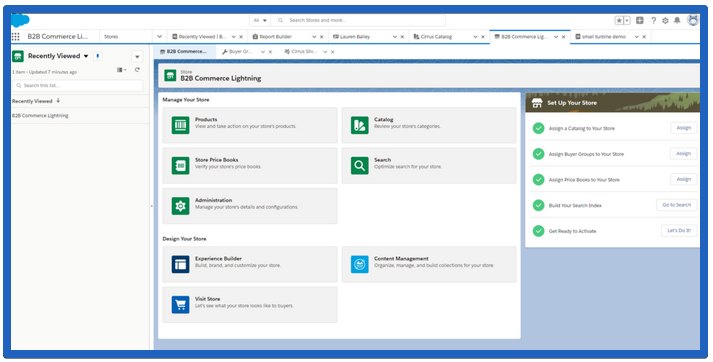
Before you perform the following steps, your store should already be created and the "Set Up Your Store" actions should be completed.
- On the main page for the B2B Commerce Lightning Store, click the gear icon in the top right and select Edit Page.
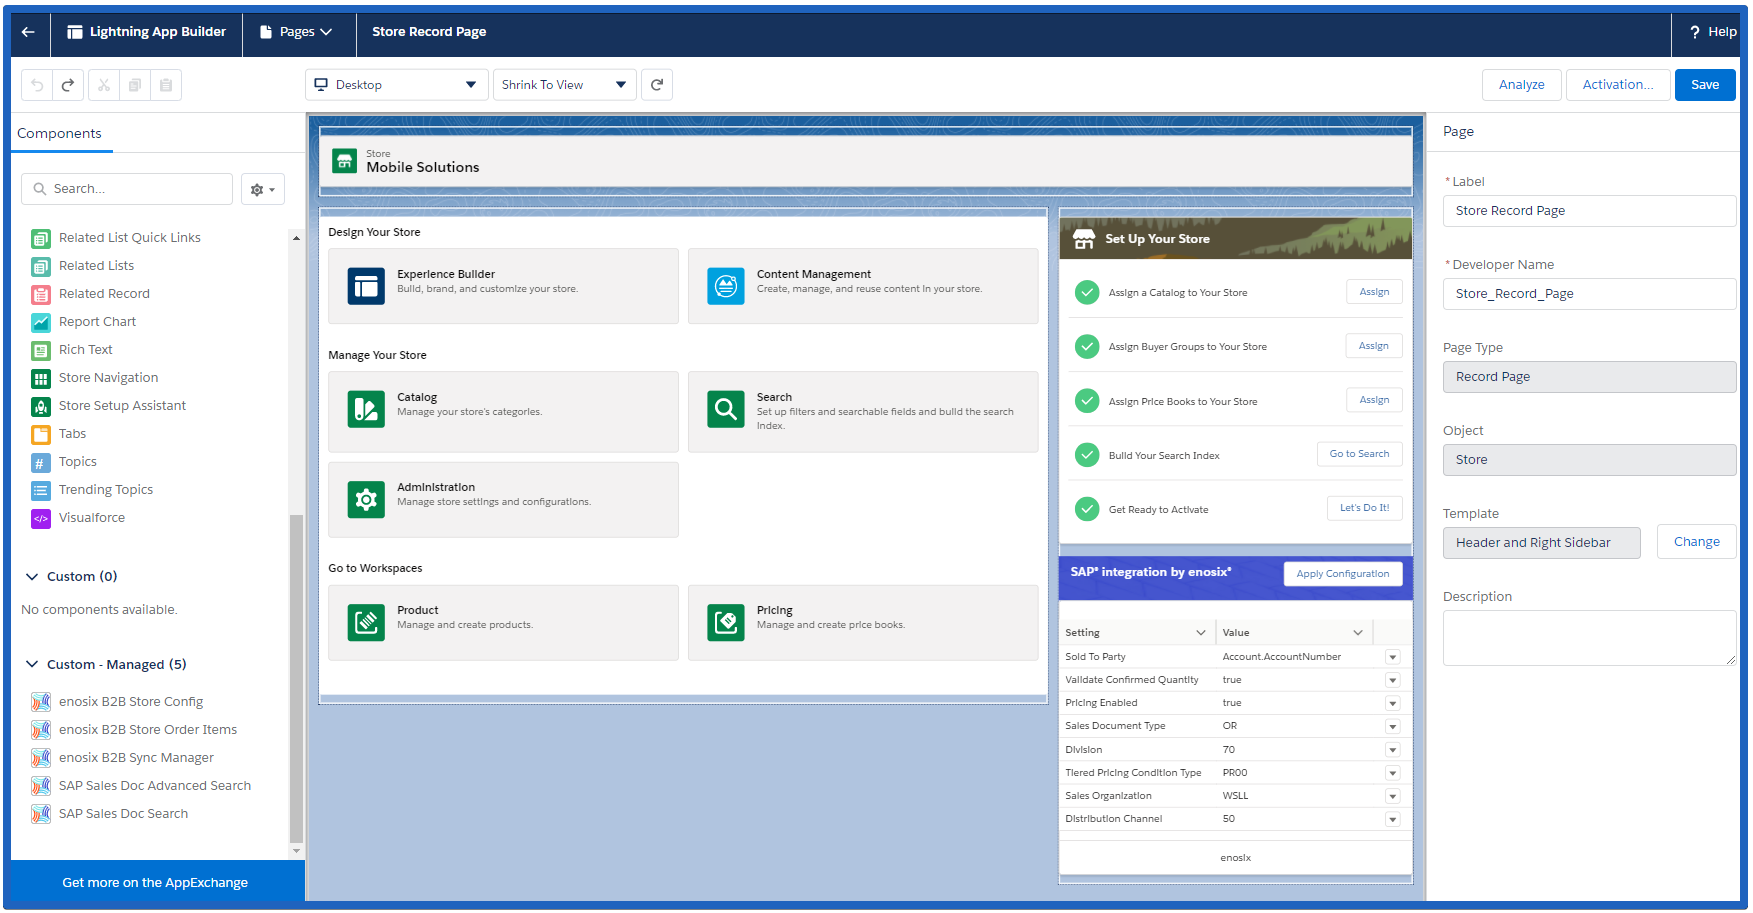
- Scroll to the bottom of the Components list in the left navigation pane and drag the enosix B2B Store Config Lightning component beneath the Set Up Your Store component.
- To save the page: click the Activation... button (upper right), click the App Default tab in the modal dialog, then click the Assign as App Default button. Check B2B Commerce Lightning Experience Admin, select Commerce, click Next twice, then click Save.
- Save the page (upper right), and then click Back. Now you should see the enosix Configuration box.
- Click the Initialize button in the Configuration box (you won’t see anything visibly happen). Wait a few seconds, then refresh your browser page.
- To change the settings, click an arrow to the right of a value that you want to set, then click Details. An enosix Commerce Setting Edit screen opens.
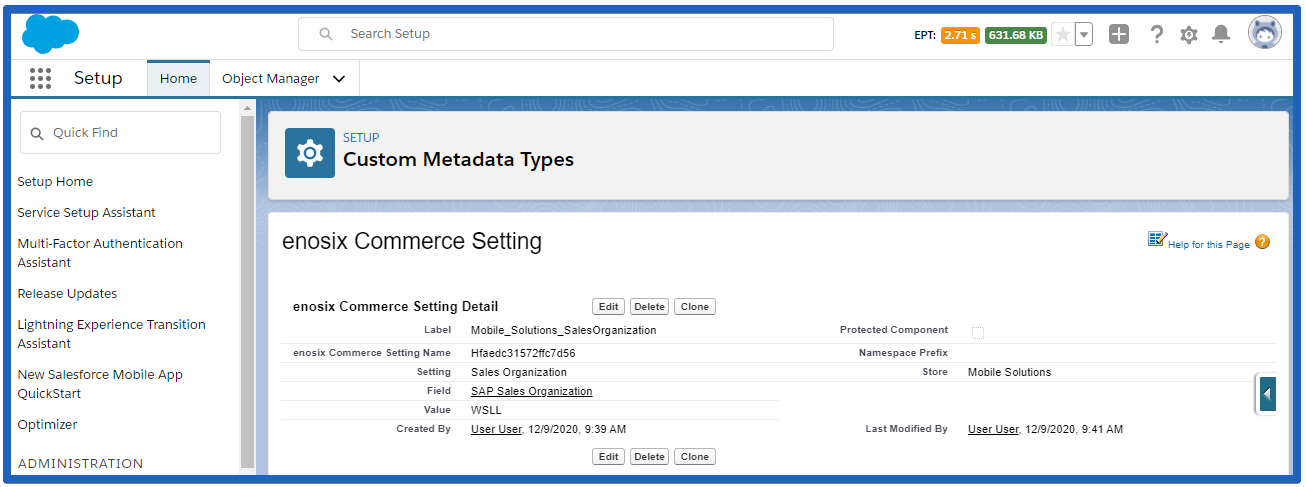
- Click the Edit button, set your desired values in the Value screen, then click the Save button.
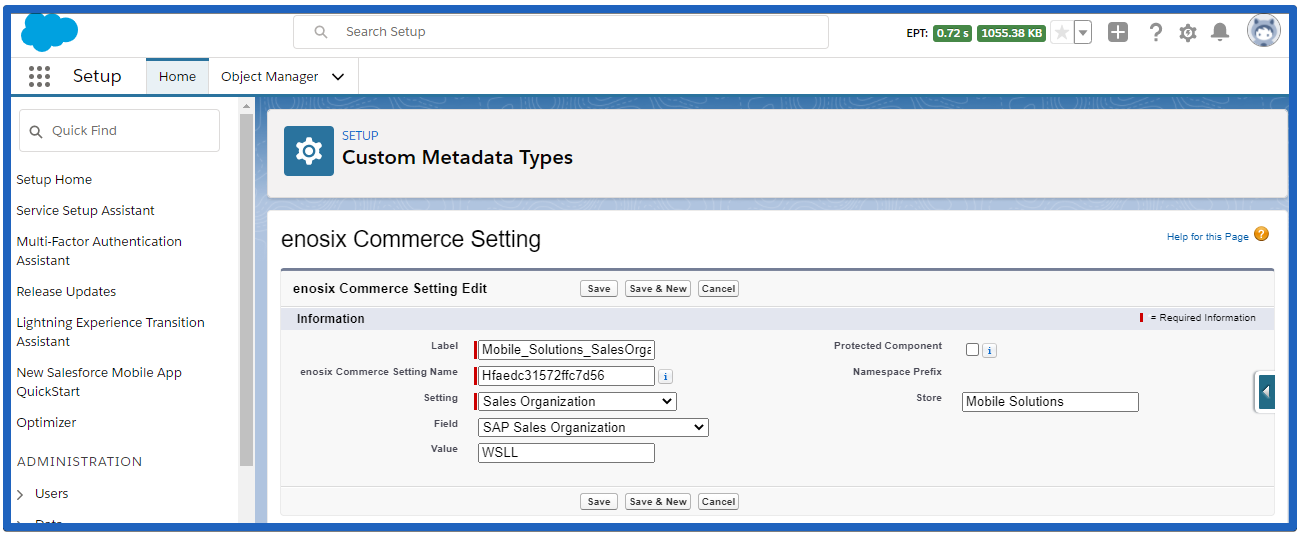
- Refresh your browser page again to ensure that the settings were saved properly.
- Click the Apply Configuration button in the enosix Config component.
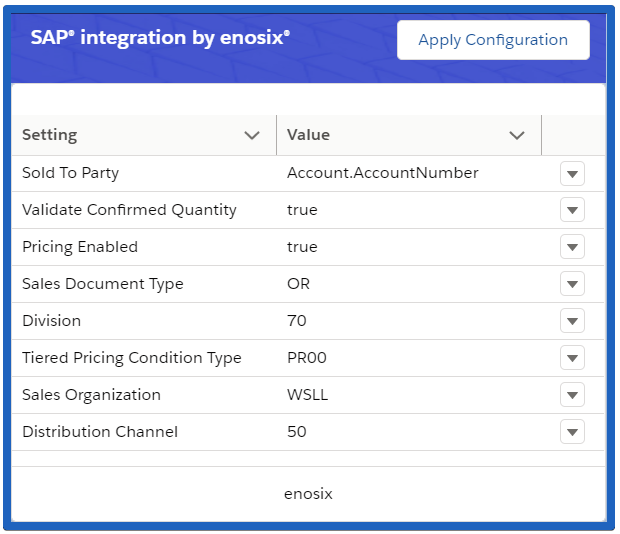
- After you modify your ecommerce site’s configuration settings, refresh your browser to display the updated settings, then click Apply Configuration.
The following table describes each store configuration setting.
| Setting | Description |
|---|---|
| Sales Organization | This is the SAP sales organization associated with your ecommerce store. The SAP sales organization can also be set dynamically in the shopping cart using a flow. SAP product pricing relies on a Sales Area which is a combination of the Sales Organization, Distribution Channel, and Division. |
| Distribution Channel | This is the SAP distribution channel associated with your ecommerce store. The SAP distribution channel can also be set dynamically in the shopping cart using a flow. |
| Division | This is the SAP sales division associated with your ecommerce store. The SAP sales division can also be set dynamically in the shopping cart using a flow. |
| Sales Document Type | This field determines the SAP document type to use for the orders that are created in your ecommerce store. “OR” (Standard Sales Order) is a typical setting for this field. |
| Pricing Enabled | This is a true/false field. When set to “true”, this field enables SAP pricing integration, so pricing is accurate when a customer adds items to the cart and during cart checkout. It’s easier to enable/disable this field than to turn on/off pricing integration in multiple locations throughout your ecommerce site. |
| Sold To Party | This field determines the default Sold To party for orders generated in your ecommerce store. The Sold To party determines all the pricing, taxes, etc. that are shown to your customers. During checkout, your customers can choose a Sold To party other than the default setting. “Account.Account Number” is a typical setting for this field. |
| Validate Confirmed Quantity | This is a true/false field. When set to “true”, the quantity of the product requested is validated against SAP’s available to promise (ATP) delivery schedule. If the quantity will be split into multiple deliveries, then your ecommerce site reports an error when a customer tries to order an amount that is greater than the currently available product quantity. |
| Tiered Pricing Condition Type | This field determines which SAP condition type code is used to calculate the price shown on a Product Detail page. “PR00” (price), which indicates that tiered pricing is selected, is a typical setting for this field. |
Customize a few screens
Use Experience Builder to customize screens:
- Select the B2B Commerce Lightning Admin app.
- Go to the B2B Commerce Lightning Store.
- Click Experience Builder.
Install the custom Lightning component to display SAP line item details on the Order Summary Detail screen
- On the Order Summary Detail screen, remove the Order Product Summaries By Recipient component.
- Add the enosix B2B SAP Order Items component in its place (you may get an error message about an unknown ID; you can ignore this message).
- Click on the new component and change the Record Id field to be {!recordId}.
- After you make these changes, click Publish.
Install the custom Lightning component to allow the cart to refresh when quantities change
- On the Cart screen, add the enosix B2B Navigation Refresh component above the cart component, as shown:

- After you make these changes, click Publish.
Install the custom Lightning component to display SAP pricing and ATP (available to promise) on the Product Detail screen
-
On the Product Detail screen, add the enosix B2B Product Detail component just below the Product Detail Card component.
-
Click the Theme button from the Experience Builder menu (it looks like a paintbrush).
-
Use the drop-down at the top right and select Edit CSS.
-
Click Use Overrides to confirm your selection.
-
Paste the following CSS content into the text box and click Save.
-
Click Publish.
Activate the new checkout flow
- On the Checkout screen, select the **Checkout Flow **component.
- Change the Checkout Flow Name to Checkout Flow.
- Click Publish.
Configure the permissions for store users
You need to use Salesforce’s B2B Commerce Setup to configure the permissions for your store users so they can log into your ecommerce site to browse, select, and purchase your company's products. Each user who logs into your ecommerce site must have a Salesforce B2B Commerce license (Customer Community Plus is typical) and a B2B Commerce profile, but they also must have the enosix B2B permission set assigned to them.
The enosix B2B permission set provides access to all of the Apex classes that enosix Commerce uses. If the enosix B2B permission set is not configured properly, your users may encounter odd or confusing error messages when they attempt to login to your ecommerce site.
When you assign the Salesforce permission set (example: B2B Commerce for Customer Community Plus) to your user, you should also assign the enosix B2B permission set to your user.
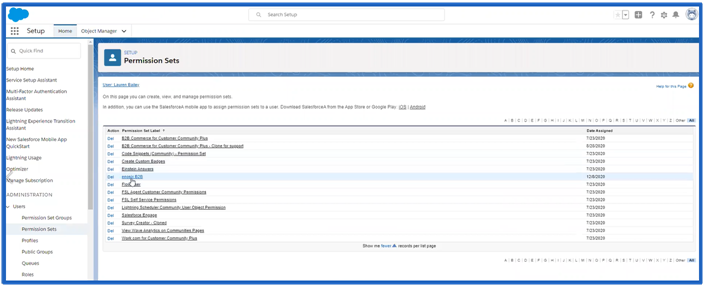
You also need to create a new permission set and then assign that permission set to each of your users.
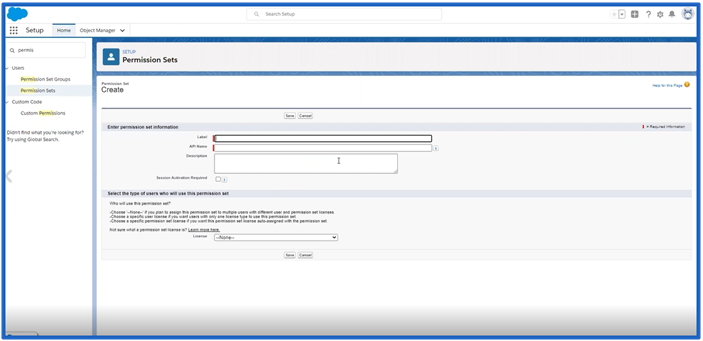
Create the new permission set using the selections listed in the following table.
| Permission Set Field | Description |
|---|---|
| Label | Create a label that identifies the new permission set. We suggest naming the label to something similar to the API Name (example: enosix B2B Standard Objects) since that makes it easier to find and remember. |
| API Name | enosix_B2B_Standard_Objects |
| Description | Provide a brief description of the permission set. |
| License | Choose the appropriate license for each user (Customer Community Plus is the most common license setting, but your users could also use the Customer Community or Customer Community Login license). |
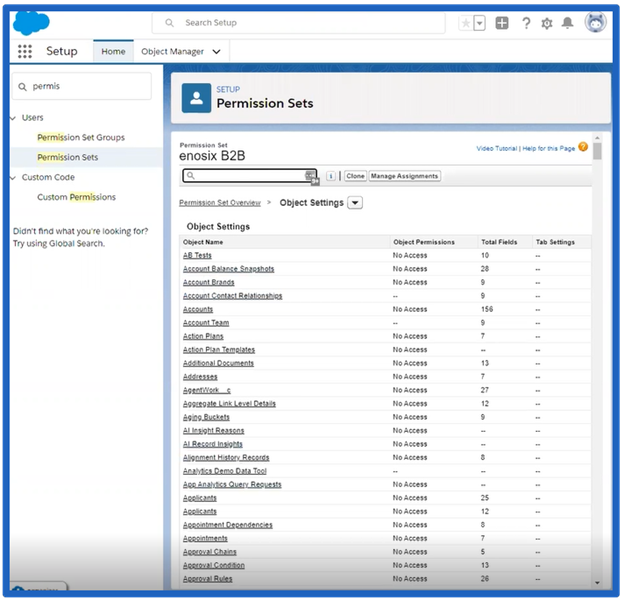
The permissions and permission settings that are required to be in the new permission set are listed in the table below.
Object Permissions
| Salesforce B2B Commerce Object Permission Name | Permission Settings |
|---|---|
| Accounts | Read = Enabled Create = Disabled Edit = Disabled Delete = Disabled View All = Disabled Modify All = Disabled |
| Cart Items | Read = Enabled Create = Enabled Edit = Enabled Delete = Enabled View All = Disabled Modify All = Disabled |
| Contact Point Addresses | Read = Enabled Create = Enabled Edit = Enabled Delete = Enabled View All = Disabled Modify All = Disabled |
| Locations | Read = Enabled Create = Disabled Edit = Disabled Delete = Disabled View All = Disabled Modify All = Disabled |
| Carts | Read = Enabled Create = Disabled Edit = Enabled Delete = Disabled View All = Disabled Modify All = Disabled |
| Stores | Read = Enabled Create = Disabled Edit = Disabled Delete = Disabled View All = Disabled Modify All = Disabled |
Additional resources
Salesforce provides documentation that describes how to Set Up Lightning B2B Commerce.